Intro
I use any excuse to use SOLIDWORKS, and design a protective case for the 818 is the latest one. It is a challenge I always wanted to give it a try and I finally did, honestly, I could not find any good 3D printed case for it online too.
So here we go, an amazing experience and learning opportunity. You can find the final design here: https://www.thingiverse.com/thing:5618836
Challenges
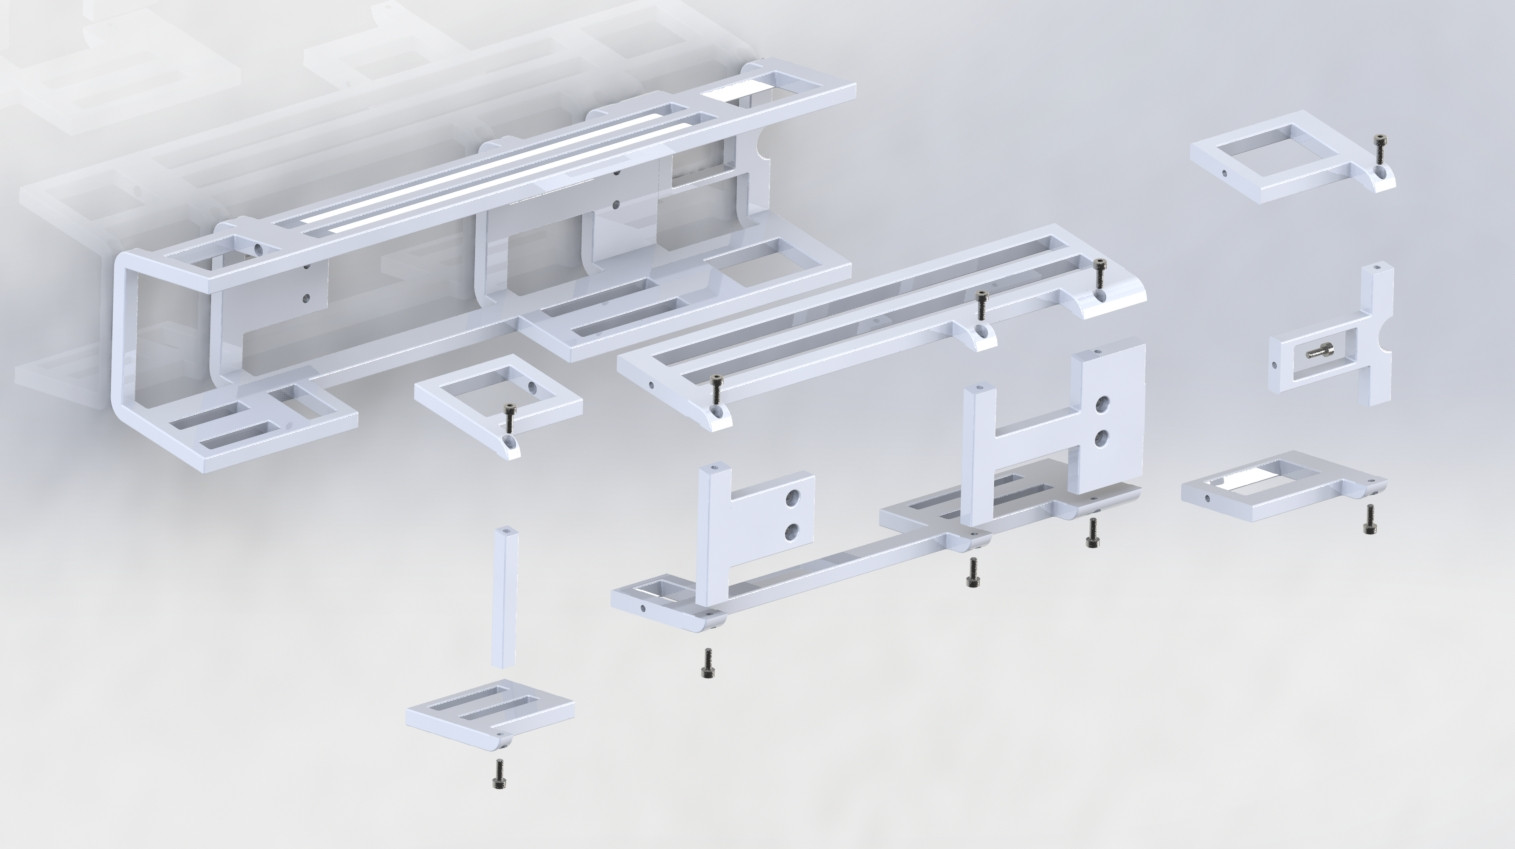
There were few limitations that made the process challenging. Limited real state on the 3D printer that forced the design to be in divided into smaller parts.
Also, 3D print inherent inability to print overhangs/bridges (print on the air) that basically meant if I choose to have parts that are not directly supported by the layer below, I need to use support in software and considering the small size of this design and its unique design that has voids, support was not even an option (yes, I did tried and it was miserable trying to remove them).
Also, I wanted to give brass inserts a try, how to cut a part, reassemble and use inserts and screws to put them together in the SOLIDWORKS.
Print is fantastic, everything goes on one plate and lays flat. I recommend 100% infill and PETG.
Assembly
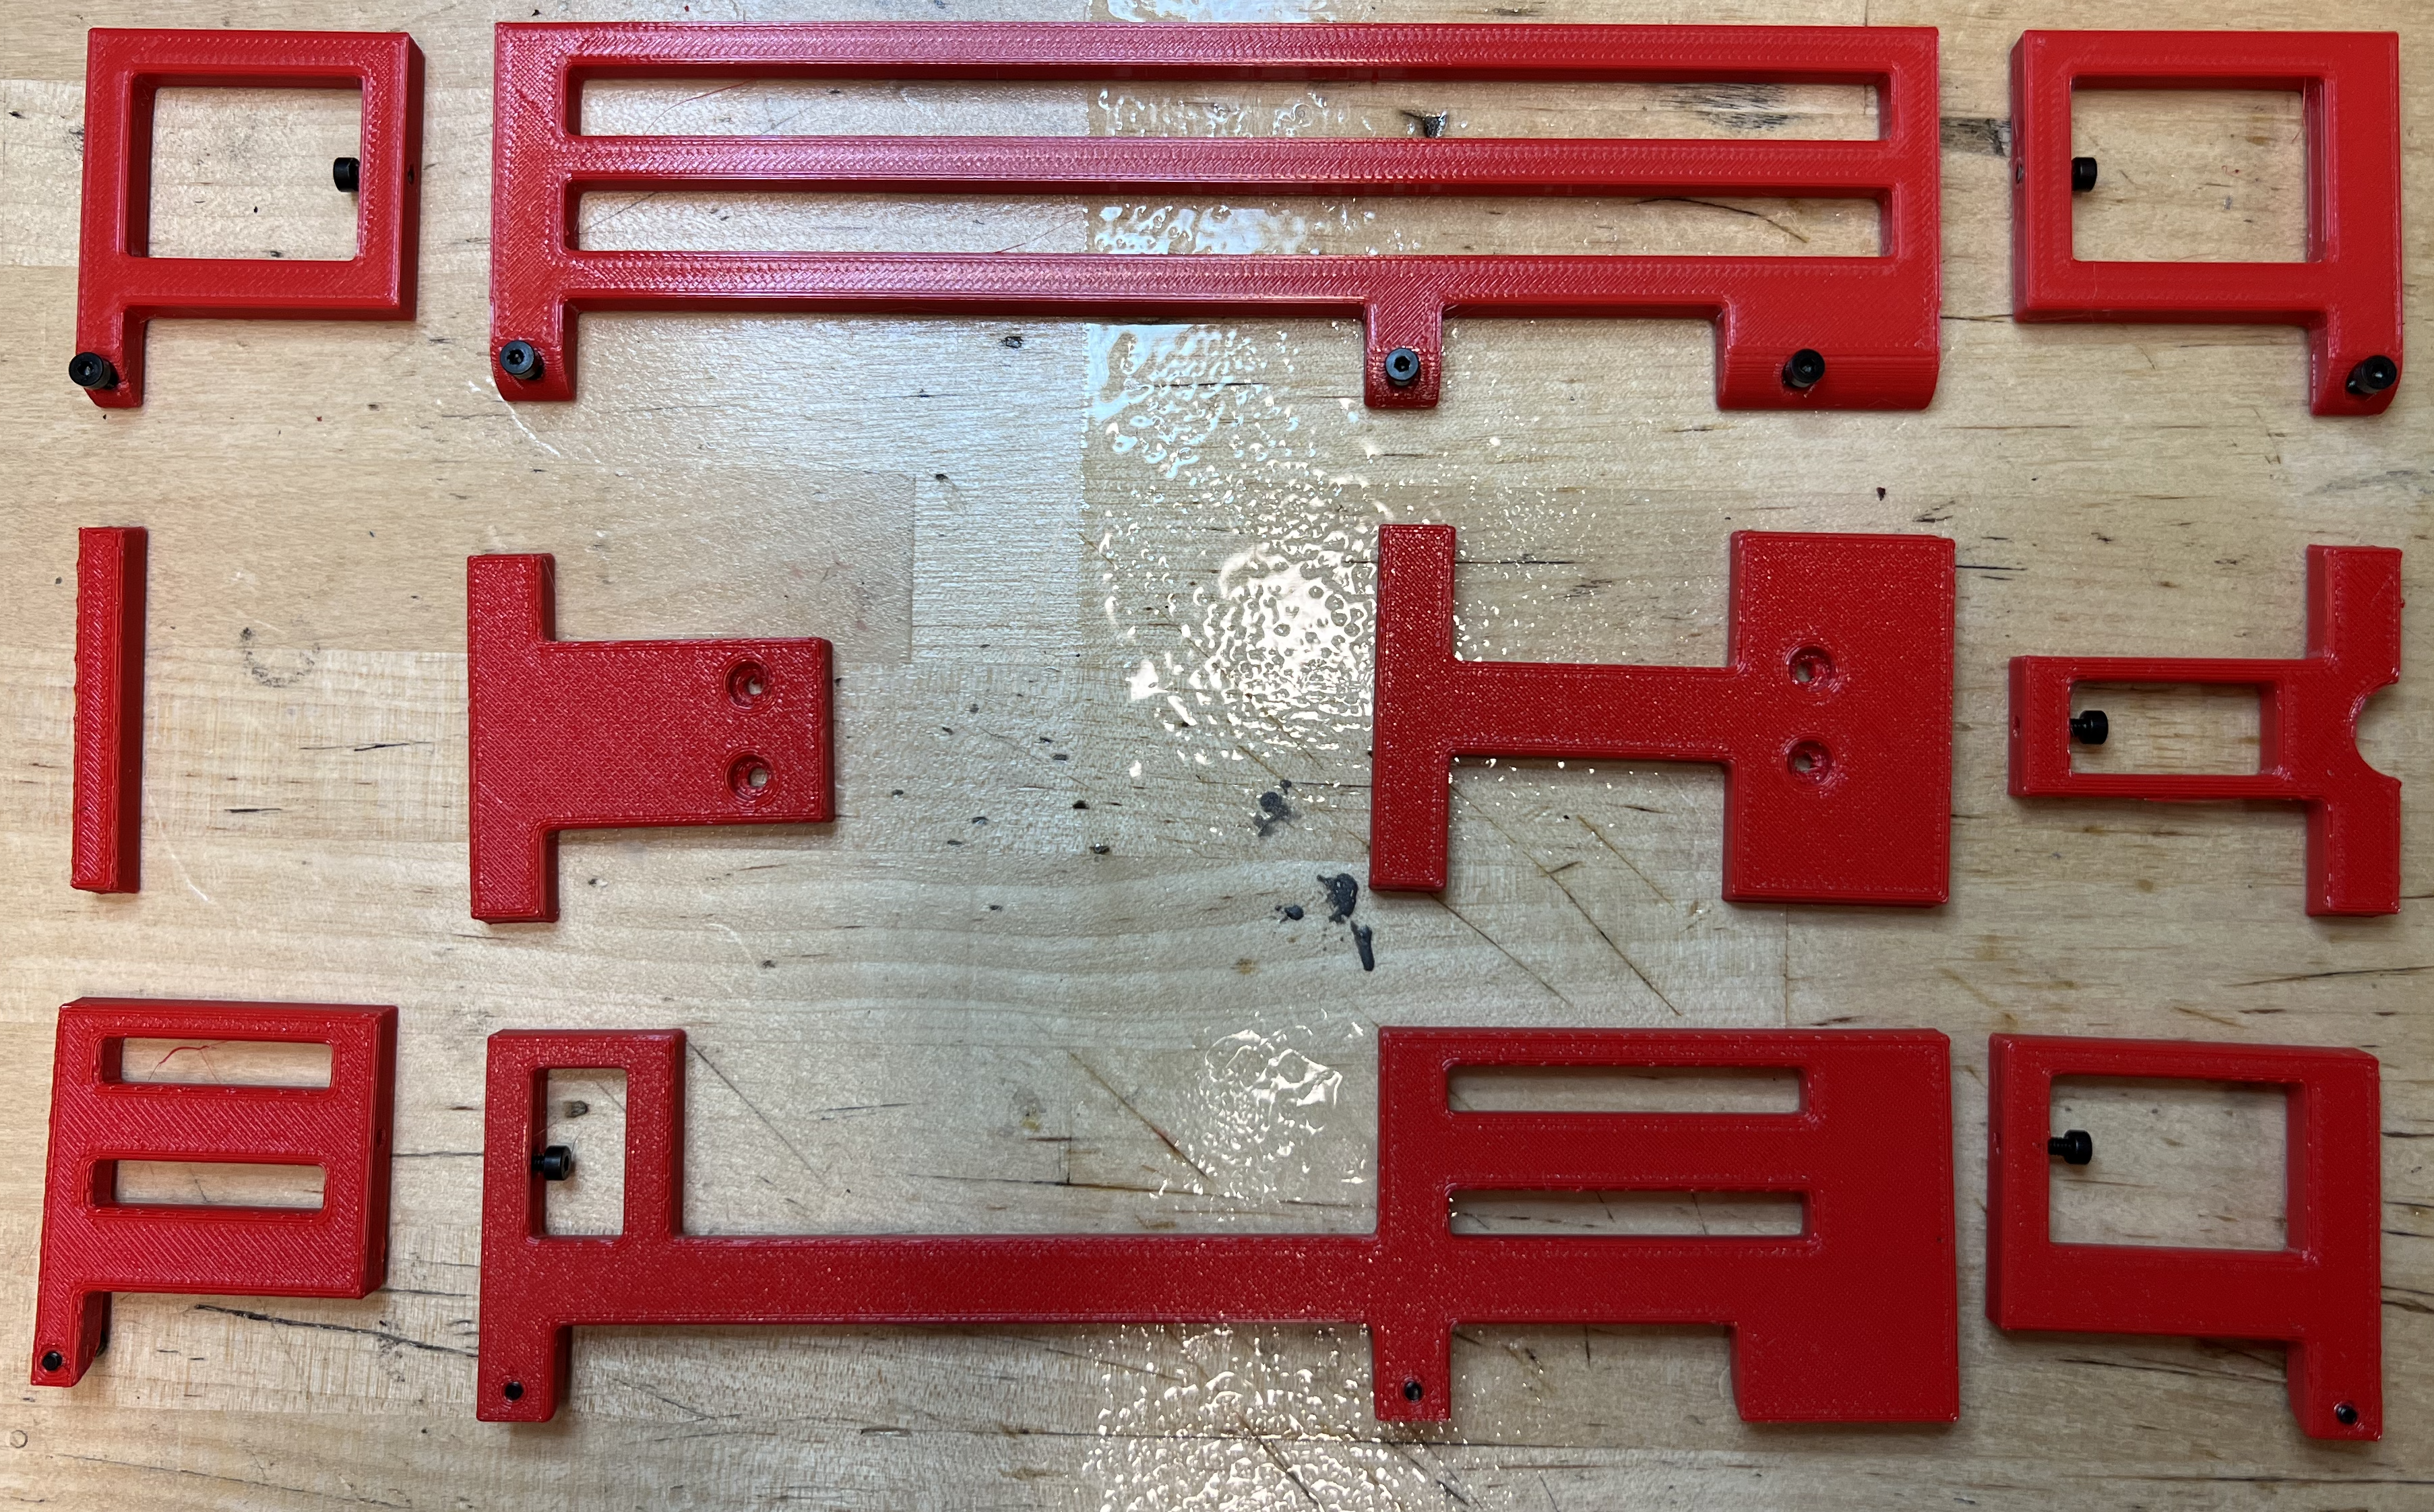
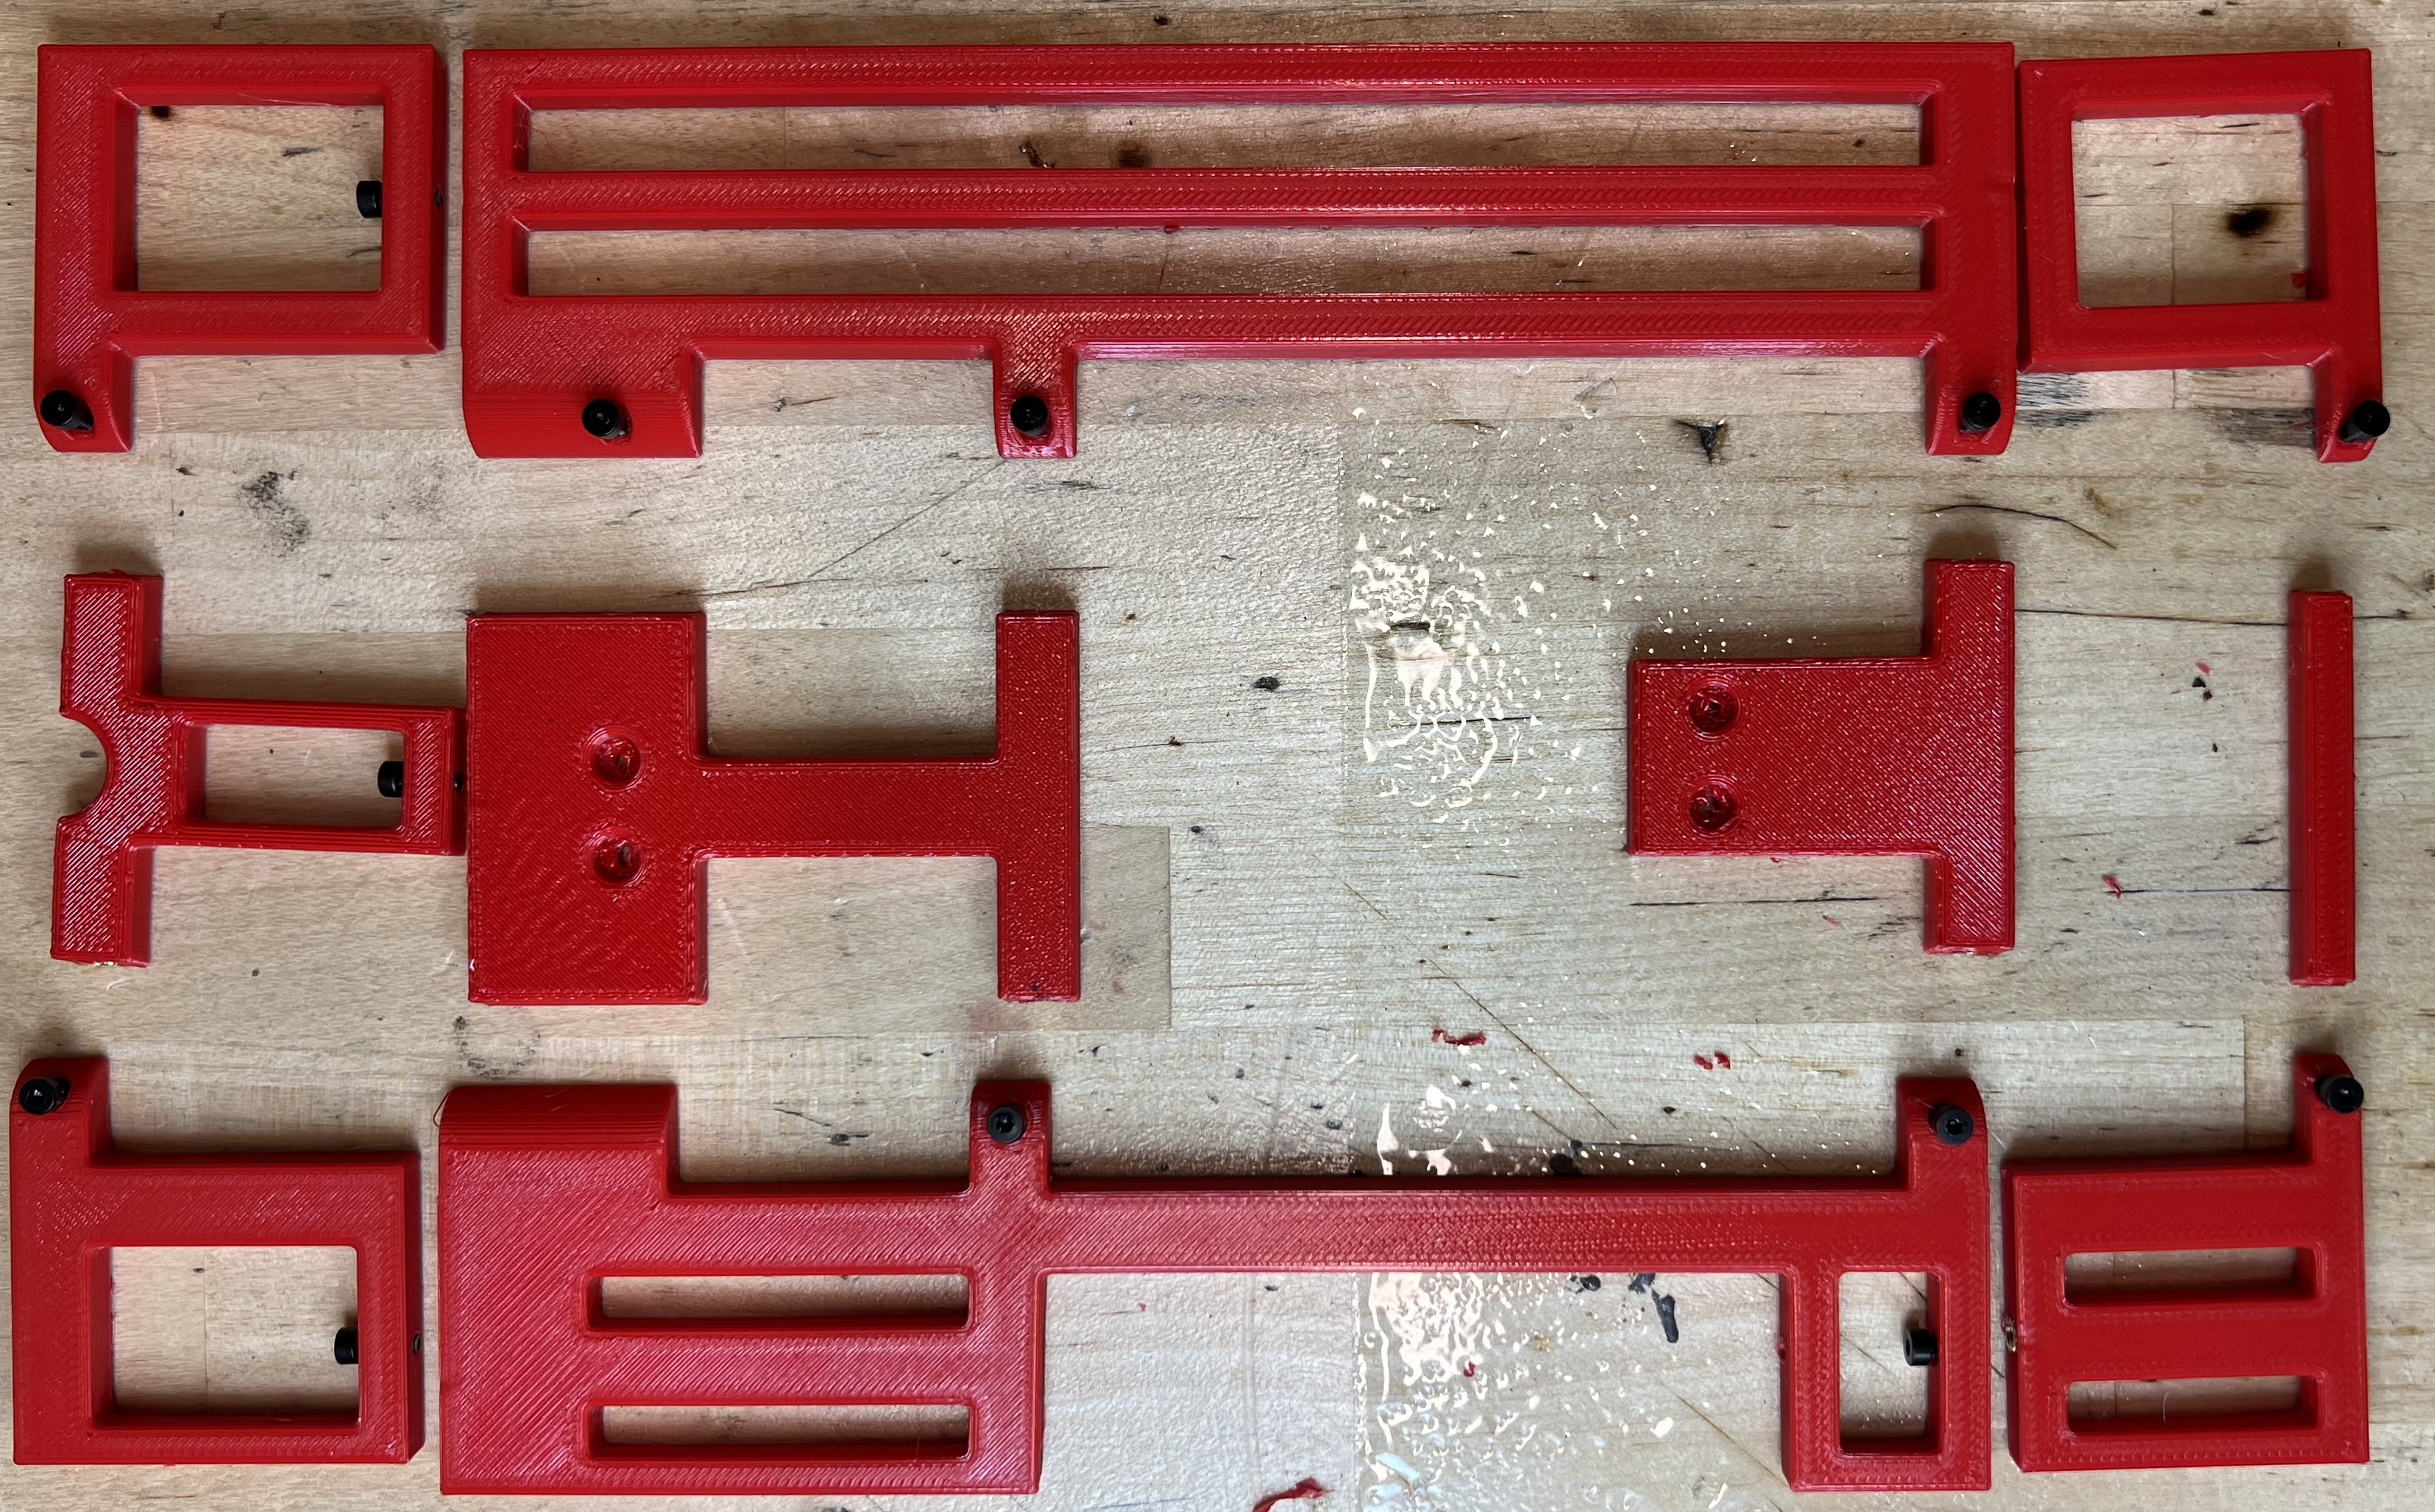
Assembly is easy as long as you use right tools and keep track of what is what. for me it started to put parts in their intended location on a flat surface.
This is the right side of the radio:
and this is the left side:
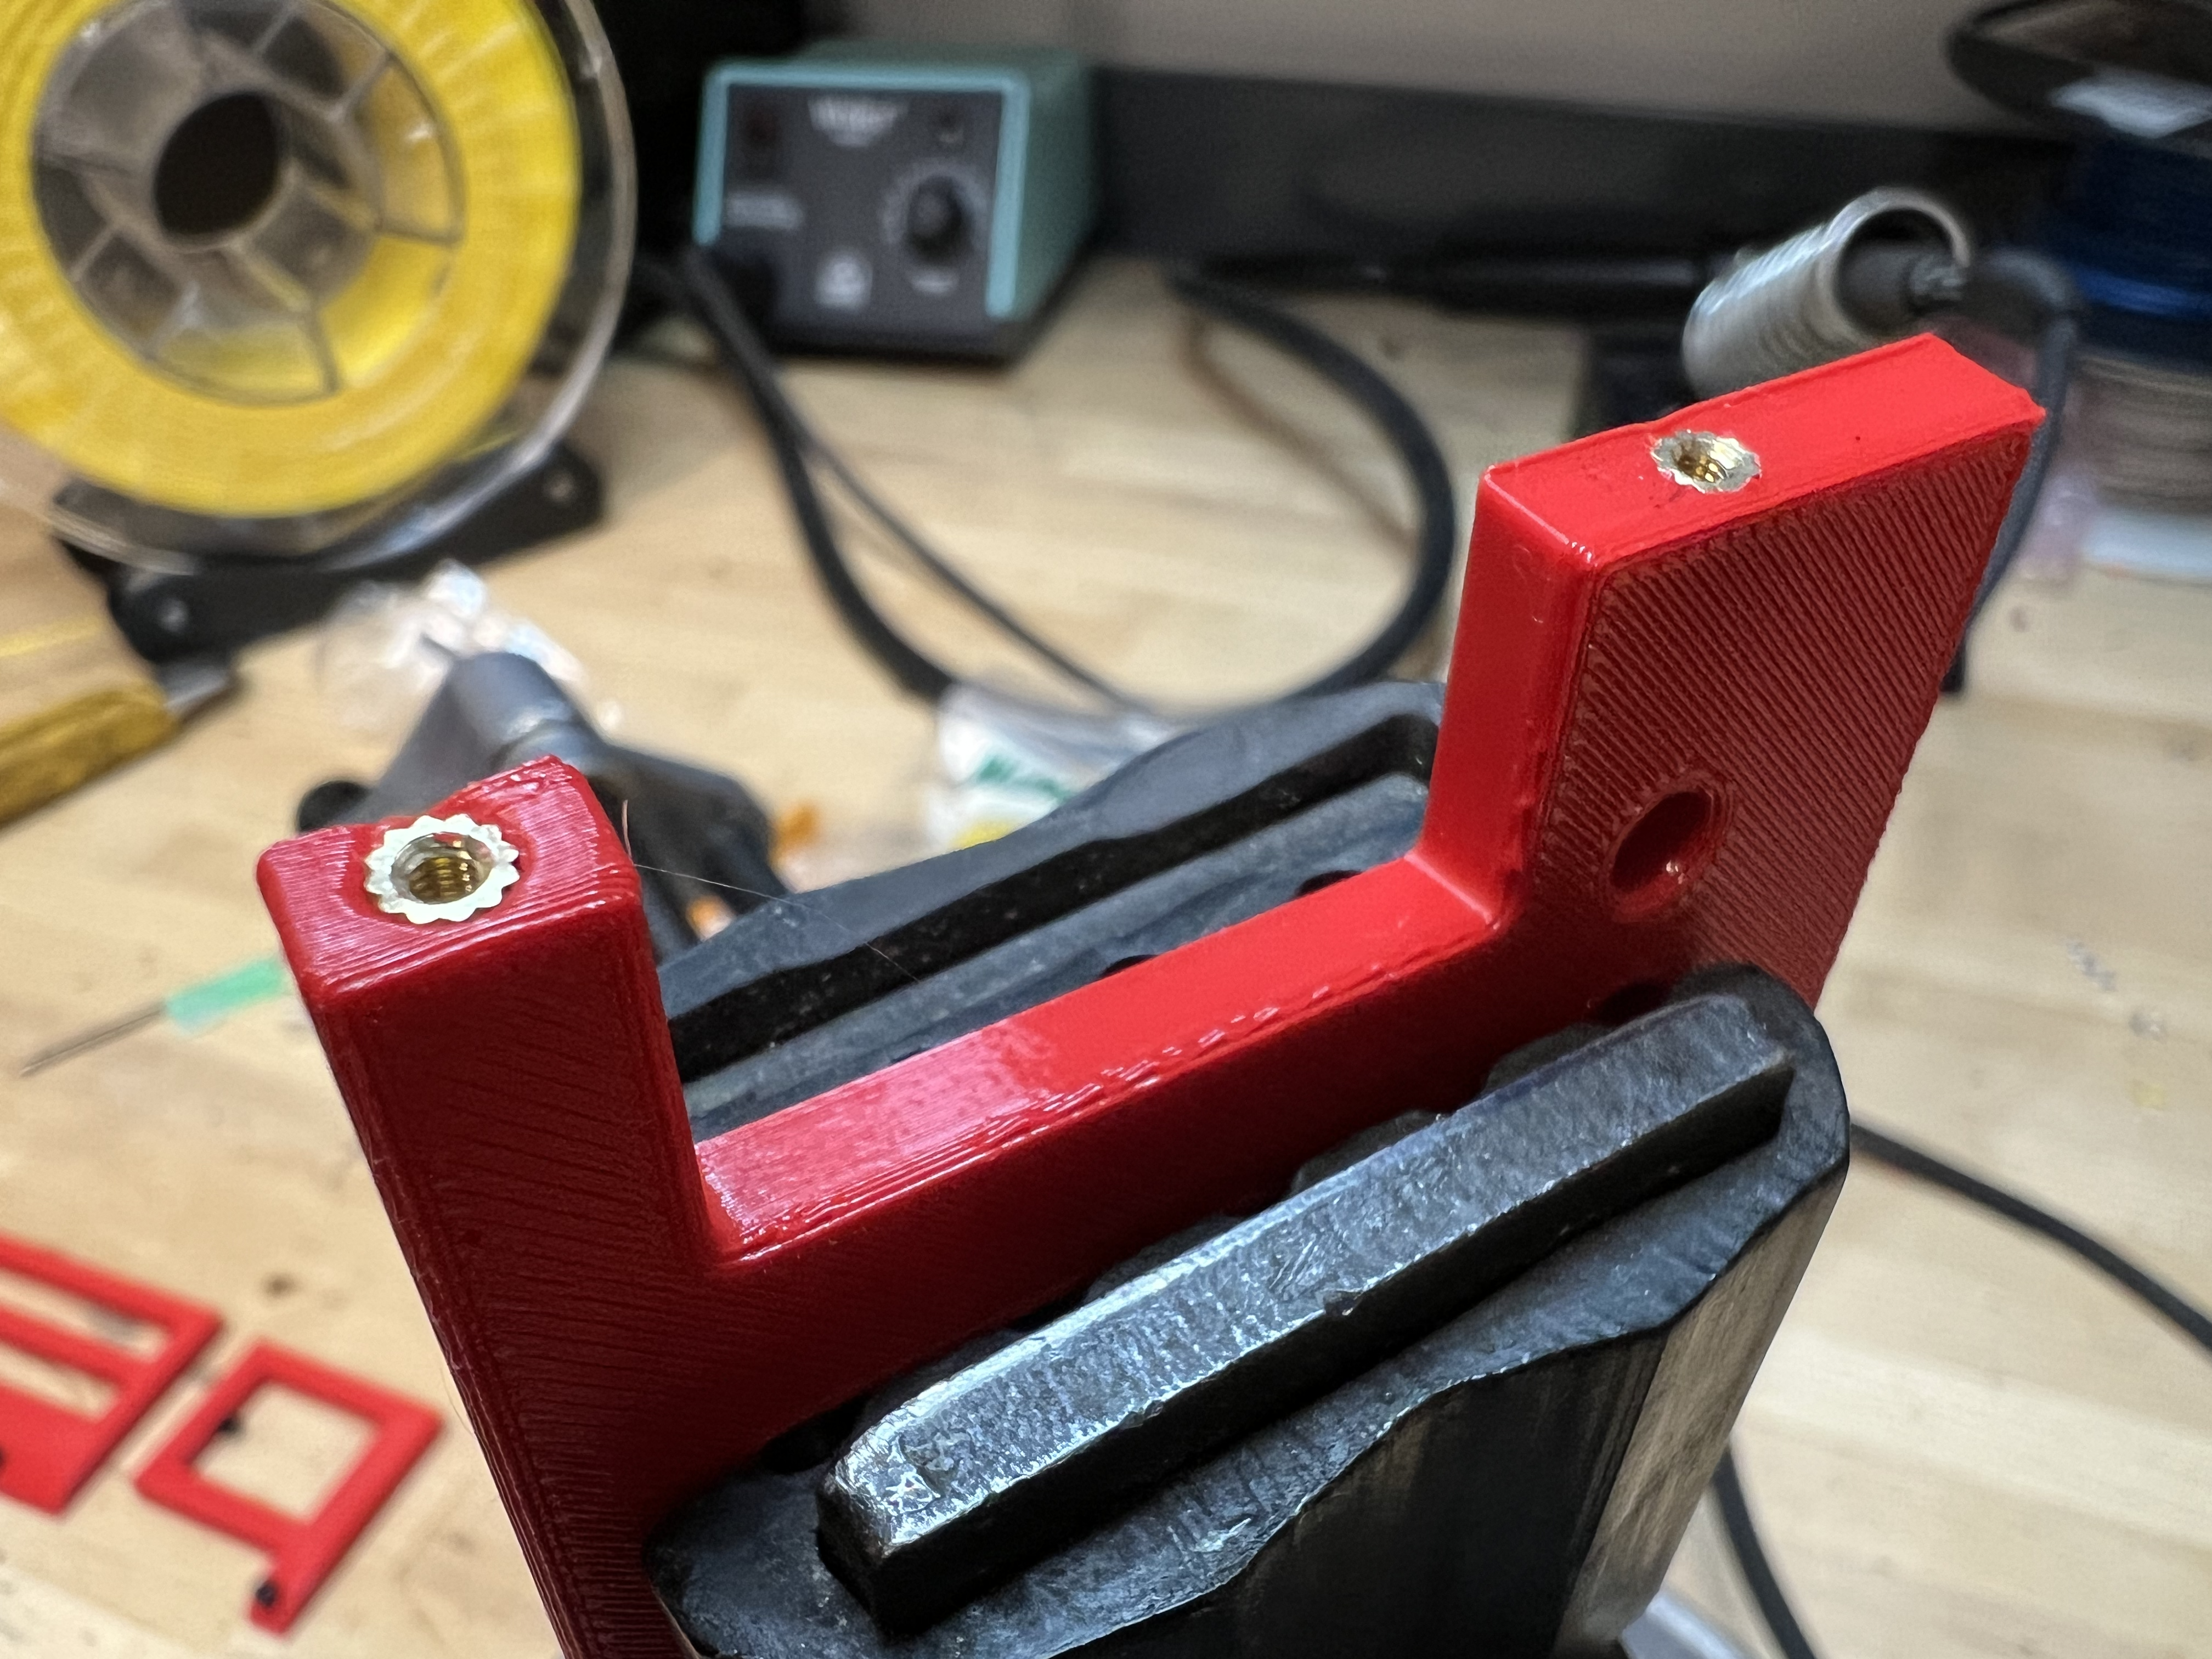
I did also screw the hex screws to make sure they all go well:

Then it was time to insert the brass inserts, I used soldering iron on 250F. still as you can see in the picture it was not a perfect job mainly due to the thickness of the case being too thin. I will increase the design overall thickness in the next iteration.
and finally, I put them all together. All went smoothly.
I am really pleased with it, and it has been an amazing experience for me.
Going Forward
I am planning to increase the thickness, add some mounts for the MIC and antenna and battery holder so I can power it up externally.